Tuesday 9 May 2017

Flashforge Inventor II - First Print

For this test we're going to look at dimensional accuracy right out of the box.  The USB Stick comes with the 20mm Box but you will have to put it into the Flashforge Flashprint Slicer to make it printable.

The first thing I noticed was the slightly longer boot up time.  A couple seconds more but it still makes the boot up sound for you.
The display is updated and shows a small picture of what you're printing plus it has a temperature signal on the top right that indicates when the nozzle is hot.
The first thing I did was level the bed plate.  The leveling aid is a pain to a lot of people but I've always had luck with it.  The high pitch beep isn't there any more when you level.  It's a different kind of beep and not as annoying.  Leveling is not any faster and is identical to the Finder.
 Operation was smooth and quieter thanks to the enclsoure.  I believe the extruder is the same as the one in the Finder and so its the leveling finger that comes down to aid you in bed leveling.
They updated the song it plays when it's finished.  I guess the only advantage of that is knowing if my Finder or Inventor II is done.
I had no issues with the cube.  The red PLA that came with the printer was fine.  I know that the filament that fits in the back on the holder costs more per kg than a 1kg spool which is why I'll print a new external spool holder soon.  As you can see I had great bed adhesion right out of the box and didn't use any gluestick to keep it down.
For dimensional accuracy on our 20mm box we've got x = 20.20mm and y = 20.09mm.  Those are pretty good numbers for what I use it for.
Summary and Conclusion:
$840CAD is quite a bit of money for a 3D printer considering that you could get other printers with a larger bed for cheaper or put in a bit more for a Prusa i3.  But this printer is ideal for a school setting because of its full enclosure, door auto-stop and portability.  I think this printer is ideal for people who have:

  • pets (especially cats)
  • small children
  • a drafty environment
  • a classroom setting
  • a need for portability

Compare this to other printers with a full enclosure that don't have auto-stop features on the door:
Wanhao Duplicator 4S - $1070
Wanhao Duplicator 6D - $1149
Flashforge Creator Pro - $1200
Wanhao Duplicator 5S Mini - $1250
Flashforge Dreamer - $1520
ZYYX+ - $2699
Makerbot Replicator 2X - $3400

I can buy 4 of these for one Makerbot Replicator 2X!

It only prints in PLA which is the least toxic of 3D printer materials and it doesn't have a heated bed which reduces the chances of injury or catching fire.  The removable build plate is amazing for a class setting so kids don't have to go into the printer to pry off parts and you can buy more build plates to cycle parts in and out faster.  Although the plate has build tak on it, there's an included glue stick and I know enough tricks from the Finder to ensure bed adhesion so that won't be a problem.

This printer is fresh out of the box but after a longer period of using it I would be concerned about the following:

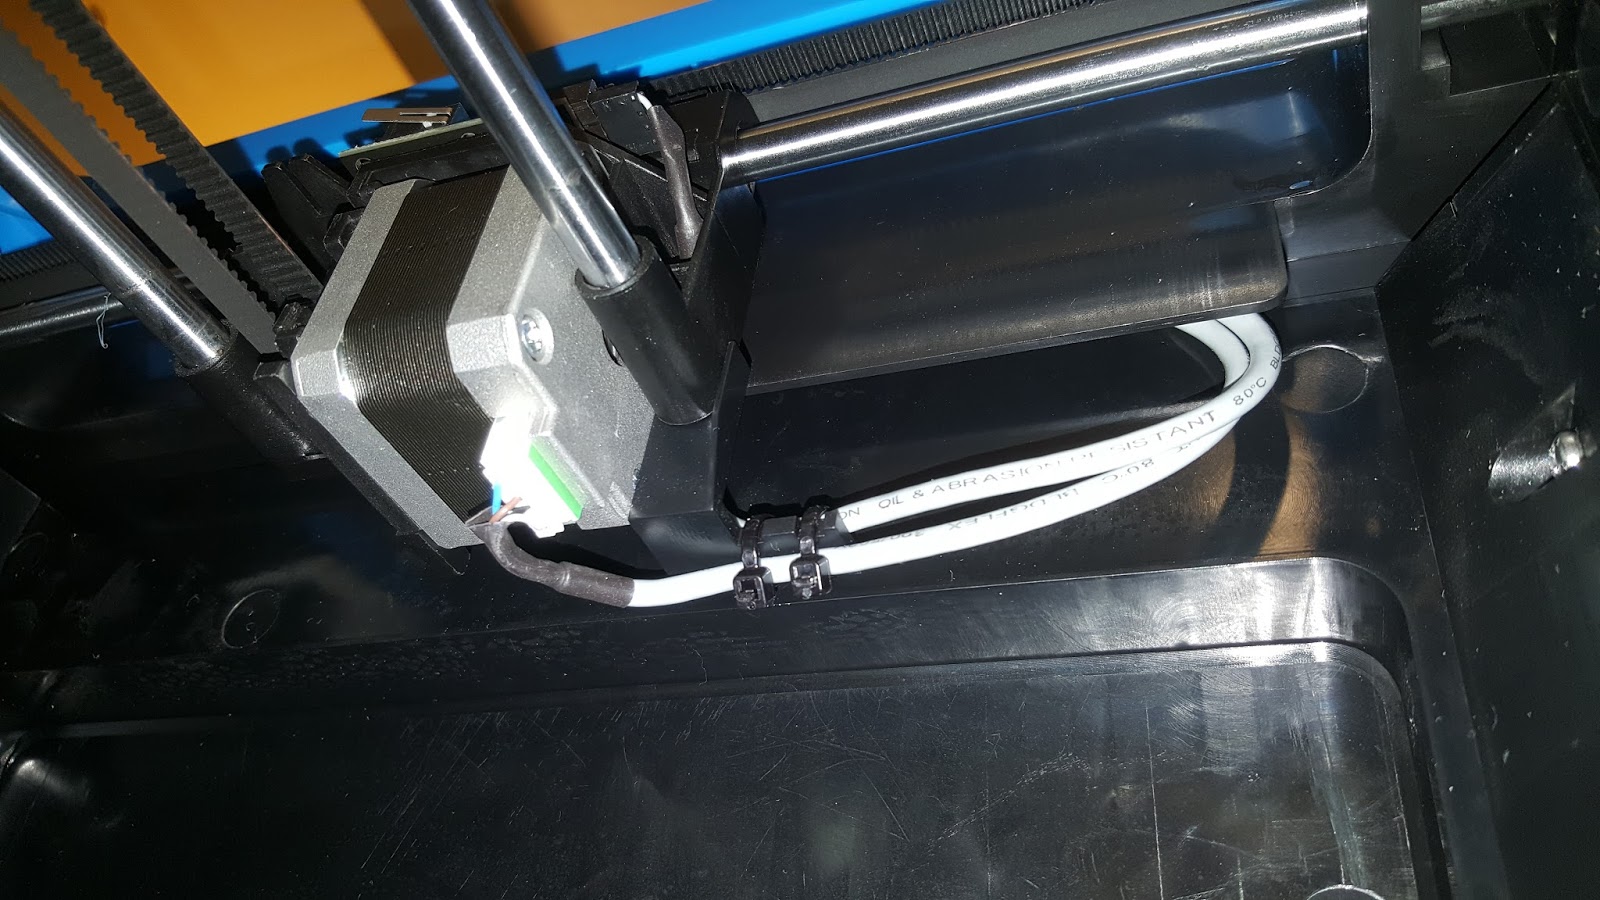
  1. The filament tube rubbing up against the opening in the enclosure.  It seems very tight and I wonder how the added stress on the motors will affect things in the long run and if the tube will wear down.
  2. How hard it will be to replace the nozzle.  All my Finders have had their PTFE tube clog up and while I'm at it changing the tube, I've decided to put the Micro Swiss nozzle upgrade in. But to grab that nozzle you have to come in from the side and bottom and since the side panels of the enclosure don't come off, this looks like it'll be challenging.
So overall I like the printer and it has lived up to my expectations.  I'll see how well it holds up as I bring this printer on an airplane for a competition later this month!


Flashforge Inventor II vs Flashforge Finder

Here's some quick facts:
Main Improvements:

  1. Full enclosure with door that stops the print when opened
  2. Slightly bigger build size (15x14x14cm)
  3. Side handles for easier transport
Size:
The Inventor II takes up the same space as the Finder.  They are the same size and I believe the same body mold is used from the Finder with the exception of the sides and door.
 Internal Spool Holder:
This is exactly the same as the Finder.  To prove it, I mixed them.

Power:
One big difference is the power supply for the Inventor II.  There is an on/off switch now and the Inventor II's power supply is external in the form of something similar to a laptop power supply.
The Finder's power supply is built in and needs this cooling vent so I think the power supply is an improvement in the Inventor II.
 Enclosure:
To me as a teacher, the biggest improvement is the enclosure.
The sides have grips so you can pull it up which makes things a lot easier for me when I'm visiting schools with my 3D printers.
 The door is held shut by magnets on the top and bottom corners.  The handle of the door sticks out but it's actually a hole in the door.  So don't expect this enclosure to be completely sealed.
The top of the enclosure is removable and it has a t-shaped cut that is offest from the centre so that it is closer to where the filament comes out of the back.
The best way to take the top enclosure on and off is to push in on the area where this t-shape is.  Flexing it inwards will release the two "teeth" that keep it in from the back and you can simply lift it out.
Does the top fit on the old Finder?  Yes!
 Here's a look at the build plates side by side.  My older Finder one is on the left, Inventor II on the right. Same design, just a teensie bit bigger is the Inventor II.  Both surfaces are build tak.
 Here they are on top of each other so you can clearly see the size difference.  As usual, I will be trying to order extra build plates to speed up production.  The removable build plate is a huge plus to me for what I use the printer for as students can focus on safety when removing parts and not worry about wrecking the inside of the machine.
The other thing to note was the cabling of the new Inventor II.  Wires are cleaner and sheathed a bit better than the Finder.


Flashforge Inventor II Unboxing and Setup

The Inventor II was released in May 2017 and I was the first person in my city, perhaps country to get one.   This currently retails from Digitmakers.ca for $840CAD.

The Inventor II is actually the Finder 2 as much of it is based on the popular Flashforge Finder.

The retails cost of this printer is $699USD, which is up from $499USD.  For $200USD more, we'll see what you get in this review series.

UNBOXING

The Inventor II's box is about the same size as the Finder's.  It comes in at 26.2kg, shipped in a box sealed with Flashforge's standard 3D printer tape.

Opening the box, you'll see the instruction manual and warranty in a ziplock bag which is taped to a long cardboard box containing tools and the power supply.
The box contents are:
  1. Power supply and cable
  2. Washable glue stick
  3. Filament tube
  4. USB cable
  5. Bag of parts:
    1. USB memory stick
    2. Screw driver
    3. 2 hex wrenches
    4. Flat metal wrench
    5. Spare PTFE tube
    6. Unclogging device

Turn the box on it's side and pull it out.  You might need help from another person to pull the box while you pull it.  Be careful pulling on the sytrofoam or you might break it.  Wiggle and slide it out slowly.  The Finder has grips on the sides that you can to help you pull and lift it.


Please note that your free reel of PLA is on the bottom of the printer:

Put the Inventor II right side up:

Remove the top styrofoam piece by lifting straight up:

Clip the four tie-wraps as labelled below:

Open the door and remove the plastic lid.  Lift out the styrofoam's left side first.
To get the right side out, you must lift the build plate.  Make sure that you lift it from the back.  The joint where the build plate moves vertically is stronger and will allow you to pull it up slowly.
Now remove the protective film from the door and LCD and you're ready to power up!